Have a Question?
Setup Approval Process Detail
Approval Process Setup for Notifications & Status Update:
You need to create an Approval Process for Travel Request object. The approval process definition should look like the following:
You will need to perform the following steps in your approval process to lock the record after initial submission, update status field, and send email notification to the approver.
Step 1: Go to Setup
Click on Your Name drop down on top right and click on Setup
Step 2: Create Approval Process
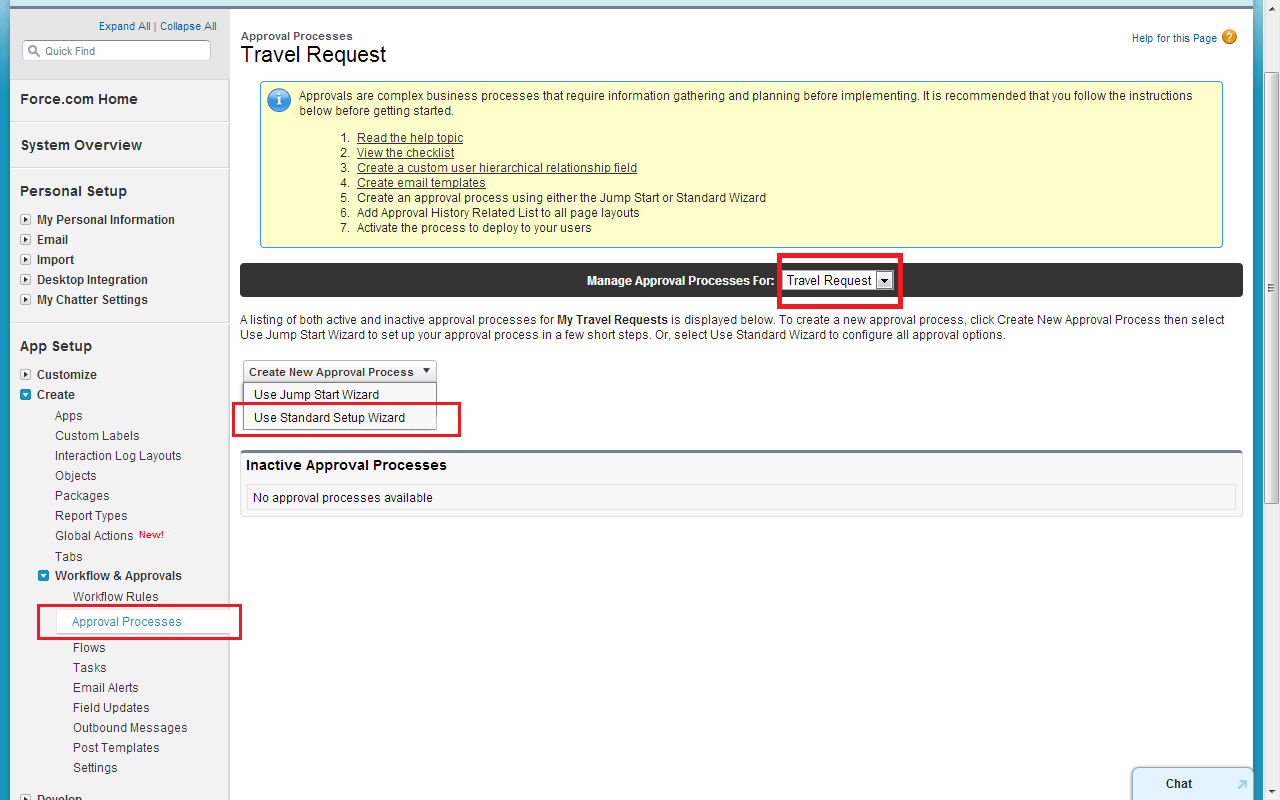
- Navigate to the App Setup section in the Setup Menu > App Setup > Create > Work Flow Approval Process > Approval Process
- Make sure that “select Travel Request object” and create a new Approval process use Standard Setup Wizard
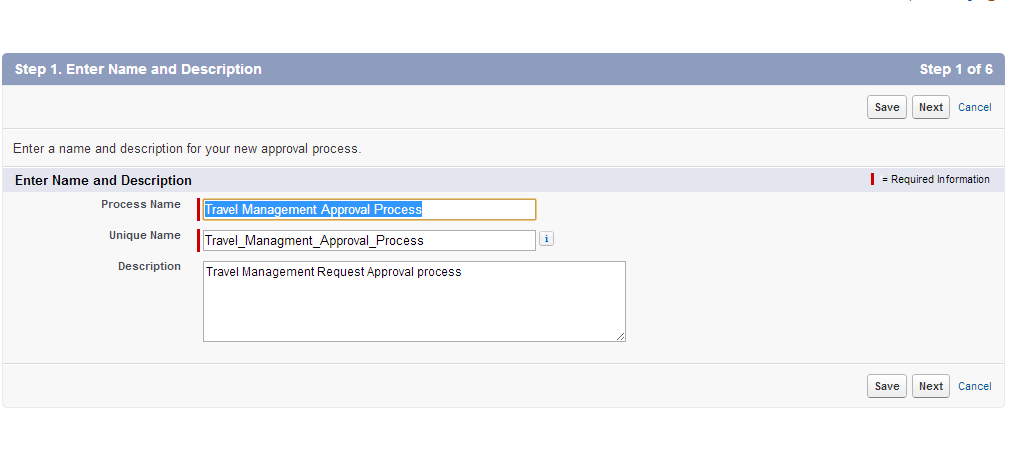
- Give process name and description and click on next
- Criteria are Met Where Status is not Equals to Approved and Approver not equal null
- Click next

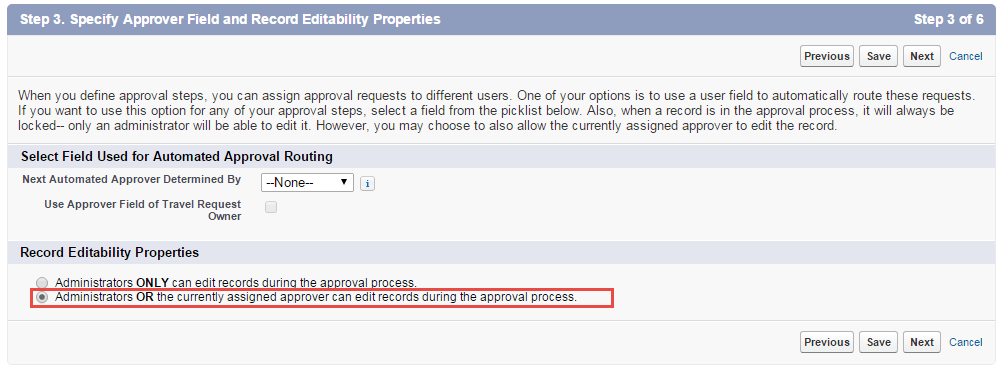
- Next Automated Approver to determine by None
- Check Administrators OR the currently assigned approver can edit records during the approval process.
- Click next
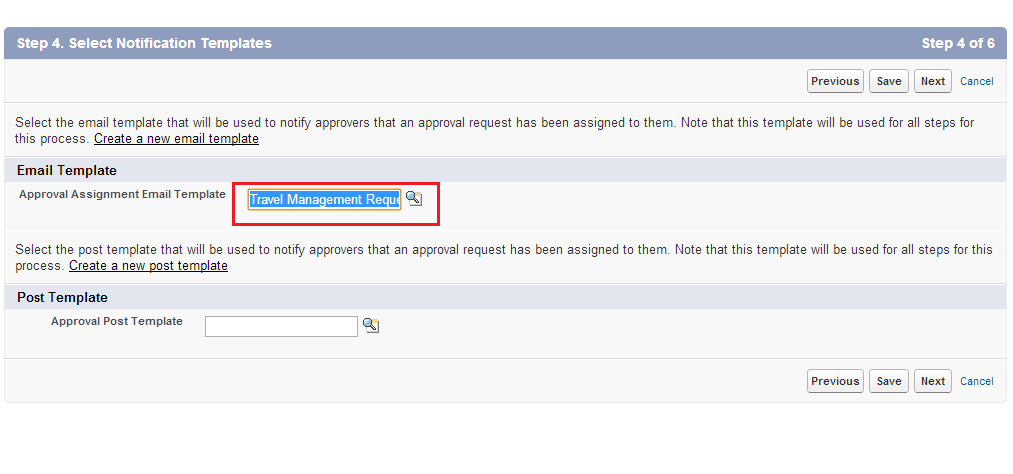
- Approval Assignment Template Select Travel Management Request
- Click next
- Select The Fields which are shows select in the screen shot below
- Checked Display approval history
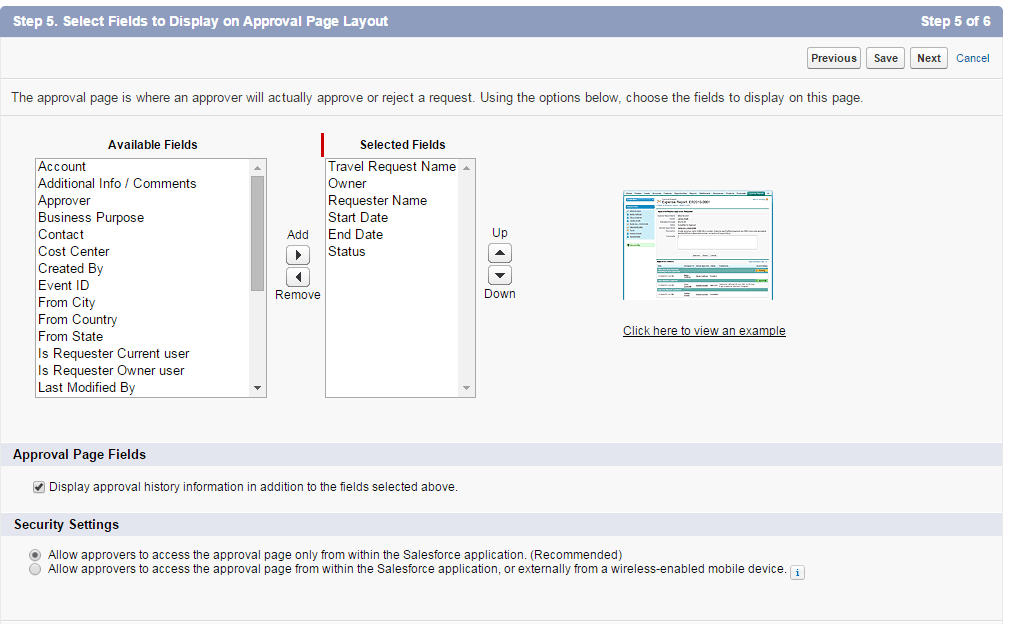
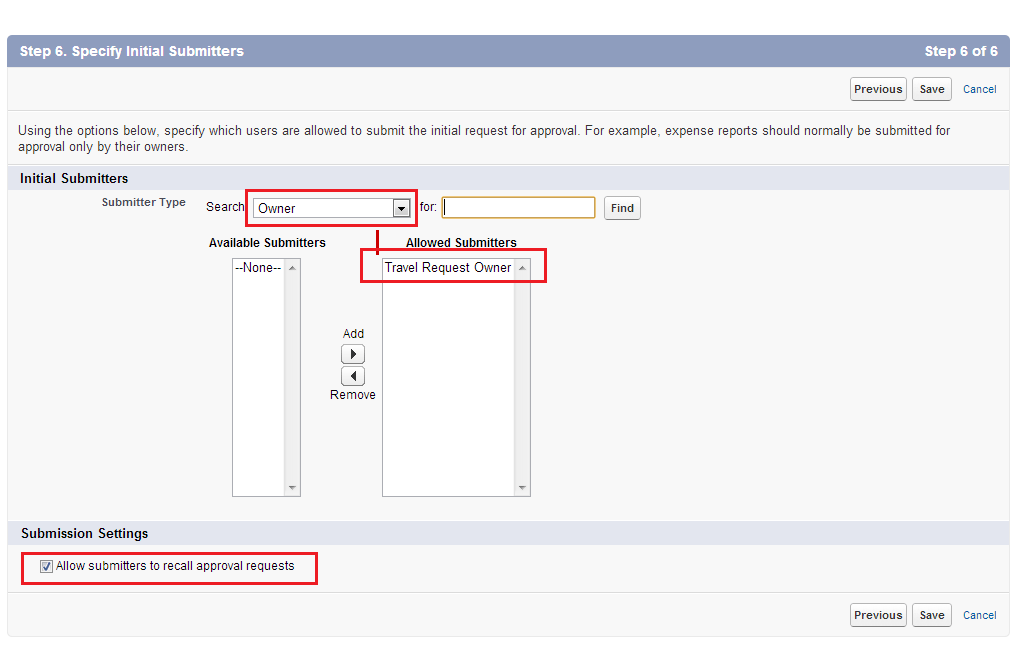
- Submitter type Owner and Allowed Submitters Travel Request owner and checked Allow submitter to Recall, and Save.
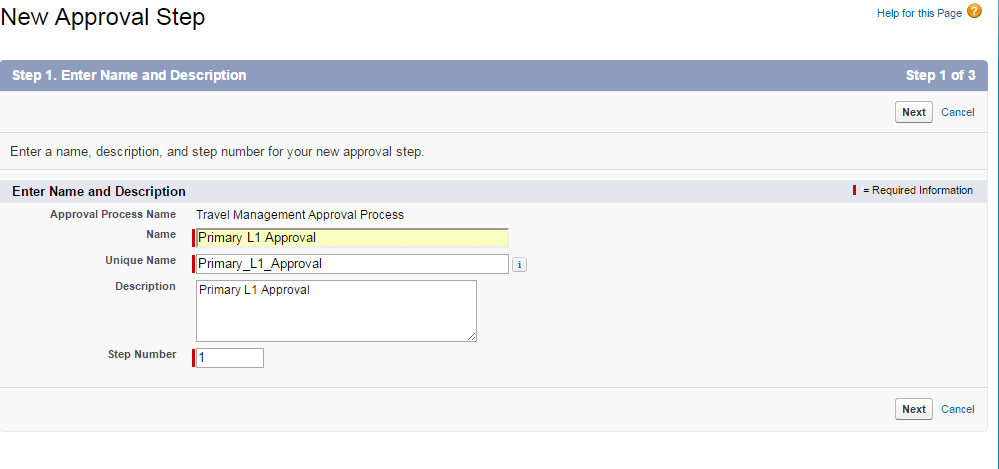
Step 3: Create Approval Step1
- Click on new Approval Step
- Enter the name Primary L1 Approval
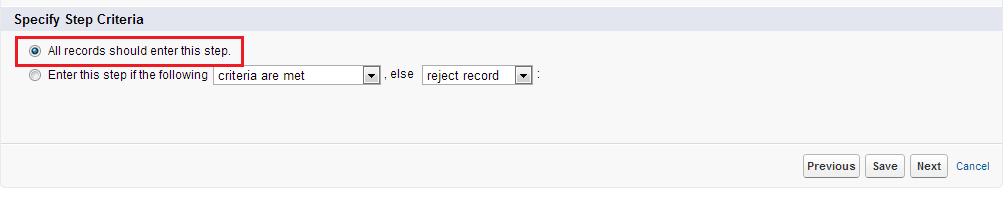
- Check All Records should enter this step
- Checked automatically assign to approver from select approver.
- Select Related user and select Approver
- When multiple approvers are selected checked Approve or Reject based on first Response.
- Save


Step 4: Create Approval Step2
- Click on new Approval Step
- Enter the name L2 Approval

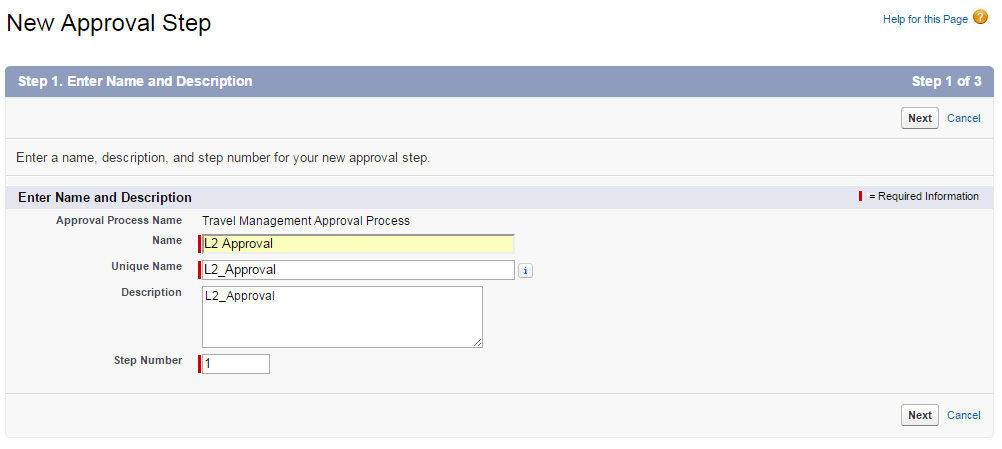
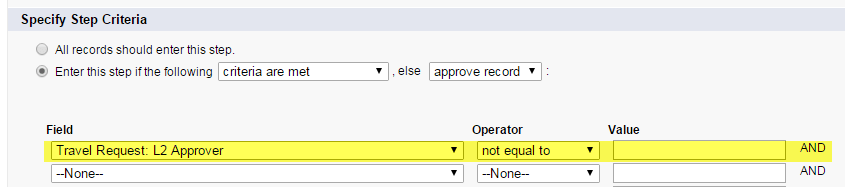
- Check Enter this step is following
- Checked automatically assign to approver from select approver.
- Define criteria Field L2 Approver not equal to null
- Select Related user and l2 Approver
- When multiple approvers are selected checked Approve or Reject based on first Response.
- Save
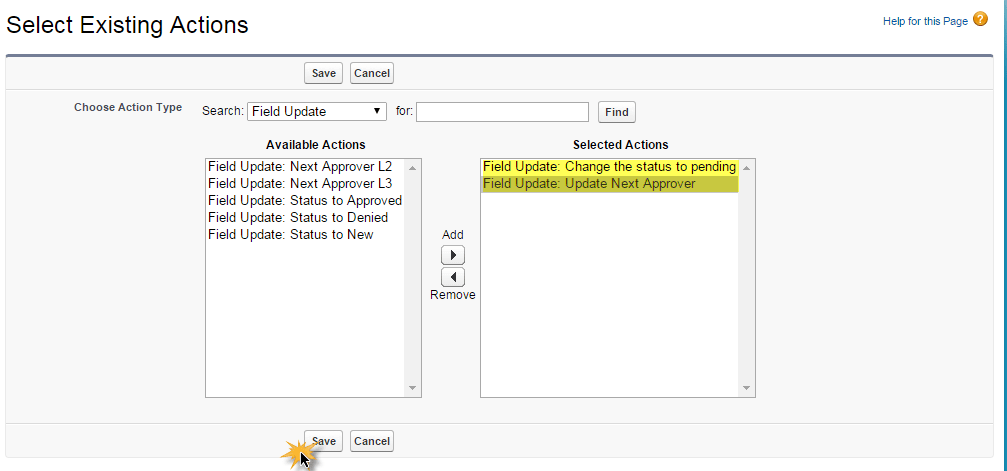
Step 5: Create Initial Submission Action
After save the approval process goes to travel Management Approval Process.
- Add Existing Field Update
- Select Change Status to pending and update Next Approver then save.

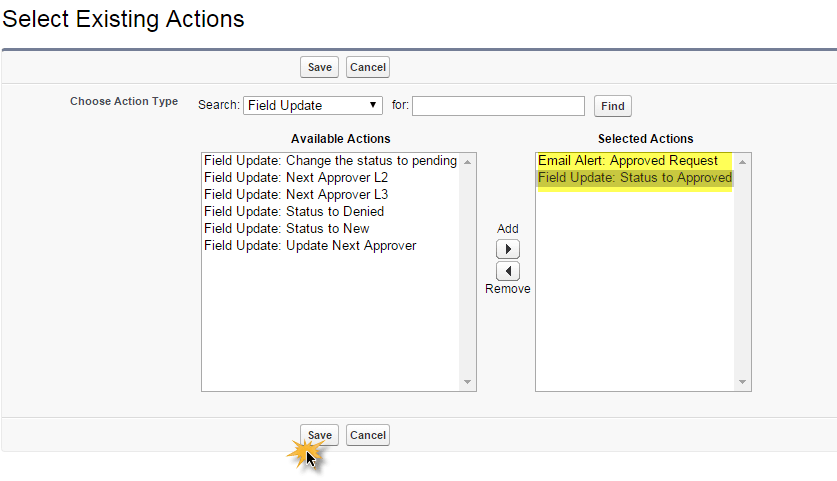
Step 6: Create Final Approval Action
- Click on Add Existing
- Select Approved Request from email alert Available actions.
- Select Status to approved from field update Available actions
- Save setting

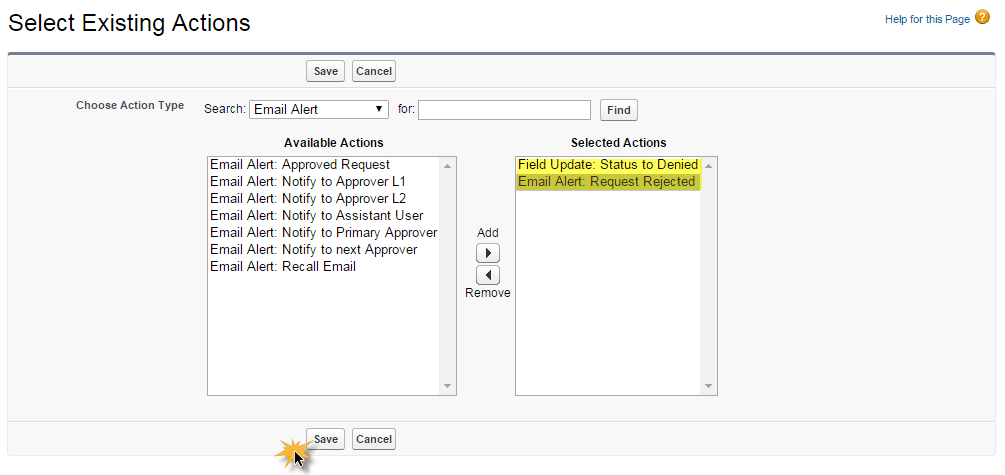
Step 7: Create final Rejection Action
- Click on Add Existing
- Select Request Rejected from email alert Available actions.
- Select Status to Denied from field update Available actions
- Save setting

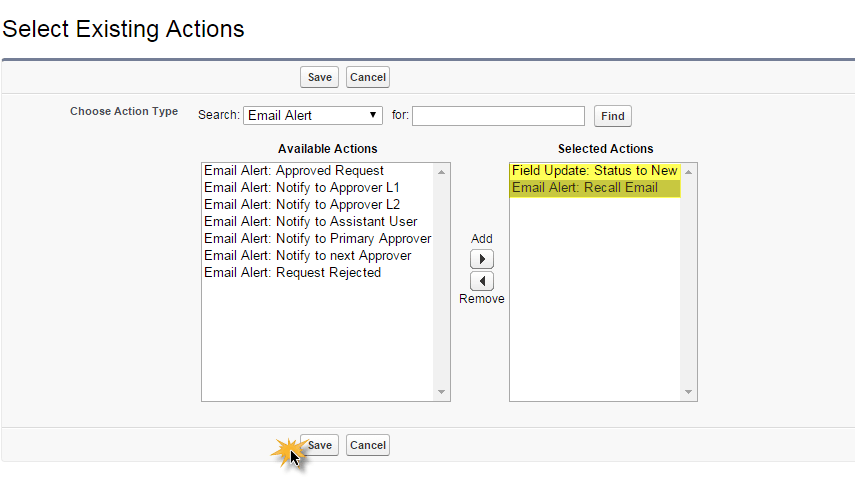
Step 8: Create final Recall Action
- Click on Add Existing
- Select Recall Email from email alert Available actions.
- Select Status to New from field update Available actions
- Save setting

Step 9: Active the Approval process
- Click on Activate to active the approval process.
